
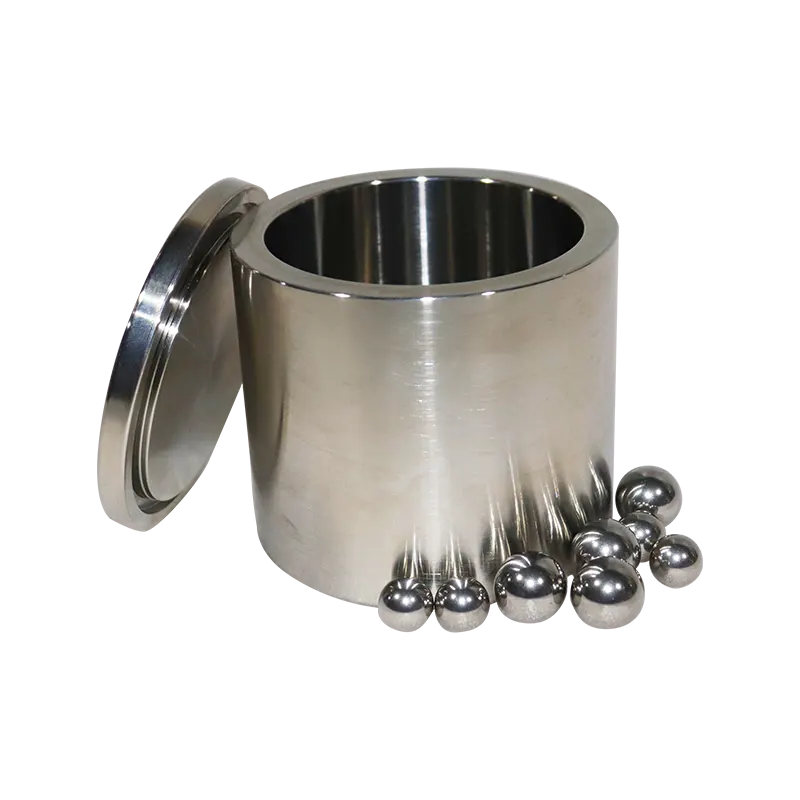
Ball Mill Grinding Balls Explained

If you have ever stared at a jar full of small steel spheres and wondered why the same recipe gives you a silky powder one day and a gritty mess the next, you are not alone. Those spheres — the grinding media — do most of the real work in a ball mill. Change their size, their material, or simply how many you drop in, and you change almost everything about the result.
What follows is a practical guide to ball mill grinding balls: what they are, how they break your sample down, and how to choose a combination that genuinely works for your material. We will also spend time on the jar that holds them, because media and container are a team. One without the other gets you nowhere.
No jargon walls, we promise. Wherever a technical term appears, we explain it right away.
What Are Ball Mill Grinding Balls, Exactly?
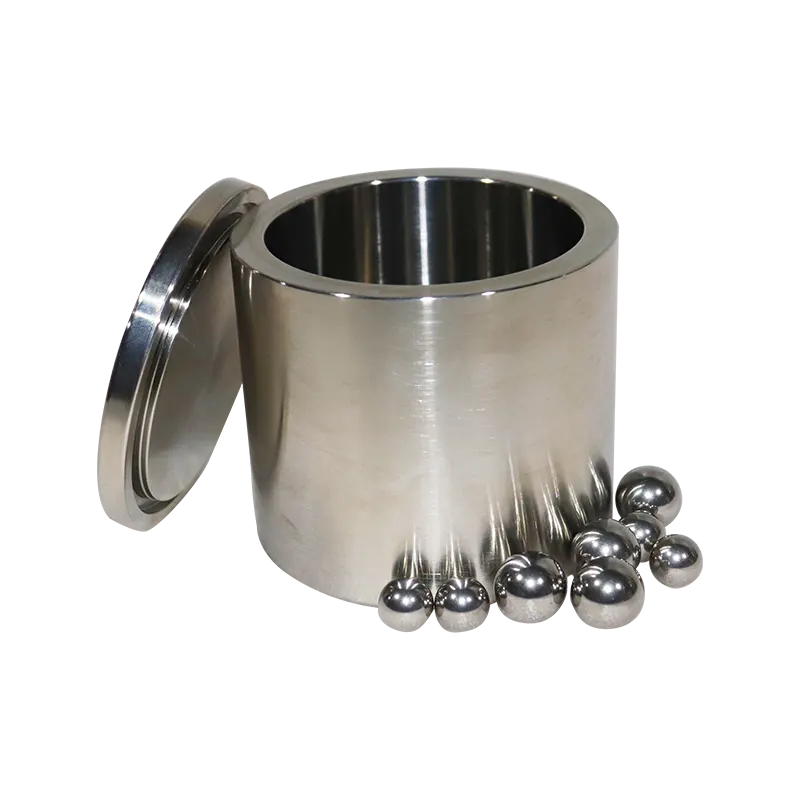
Grinding balls are the loose, hard objects that tumble inside a mill and break your sample into smaller pieces. In a planetary ball mill they sit inside a sealed jar. That jar spins around its own axis while a larger disc spins in the opposite direction, so the balls are flung against the wall, roll upward, and drop back onto the powder — thousands of times a minute, in a rhythm you can hear through the benchtop.
You will also run into the term "grinding media." It is honestly the better name, because not every piece of media is a sphere. Some are short cylinders, some are shaped like small satellites, and some are irregular chunks. They all do the same job: pick up kinetic energy from the machine and deliver it to your sample.
One quick clarification, because the word "balls" causes confusion. These are not precision bearing balls from a spindle or a bicycle hub. Grinding media are consumables, chosen for density, hardness and wear behaviour, and they are expected to slowly sacrifice themselves to the job.
The two jobs every grinding ball does
Media work in two ways at the same time, and understanding the difference explains most of the strange results you will ever see.
The first is impact. A ball slams into a particle and the particle cracks. This is the brute-force part of milling, and it is what turns a 5 mm chip into a 200 micron grain. Impact loves heavy, fast-moving balls.
The second is attrition, which is a polite word for rubbing. Balls grind past one another, shearing particles caught between them. Attrition is slower, but it is what takes you from 200 microns down to 10 microns and below, because a particle only has to be squeezed hard enough to crack along a flaw.
Early in a milling run, impact dominates. Later, once the powder is fine and the voids between balls are packed with particles, attrition takes over. If your balls are too small, you never get the impacts you need. If they are too big, you get plenty of cracking but very little fine grinding, because a few huge spheres have far fewer contact points than a crowd of small ones.
Why the same charge behaves differently in different machines
A jar of balls dropped into a planetary mill, a roller mill and a vibratory mill will produce three different powders. The balls do not care what machine they are in, but the energy they carry does. A planetary mill accelerates its jars hard and forces repeated collisions; a roller mill simply lets gravity do the tumbling. Same media, very different energies. That is why a ball size that works beautifully on your benchtop unit may underperform in a production drum.
How a Ball Mill Actually Breaks Your Sample Down
Everybody knows a ball mill makes powder finer. Fewer people can explain why the curve of "finer powder versus longer grinding time" flattens out so stubbornly. Here is what is happening inside the jar.
Impact energy: mass and speed are everything
Every time a ball collides, it delivers energy proportional to half its mass multiplied by the square of its velocity. The practical consequences are worth memorizing. Double the ball's mass and you double the energy. Double its speed and you quadruple the energy.
That is why dense media are so popular. A tungsten carbide ball is roughly twice as dense as a steel ball of the same size, so at the same machine setting it hits almost twice as hard. It is also why raising the rotation speed changes results so dramatically — and why it heats up your sample so quickly.
Attrition and the value of fresh surfaces
As particles get smaller, defects and cracks inside them get rarer, so they get harder to break. At the same time, the total surface area of the powder explodes. That newly exposed surface is chemically active, which is great if you want reactions, and annoying if the particles decide to stick back together.
This sticking is called agglomeration. You will know it when you see it: you grind for four hours, and the powder looks like coarse sand again. Nothing is wrong with the mill. The particles simply welded back together because there was not enough space or energy left to keep them apart.
Ball-to-powder ratio
The ball-to-powder ratio, usually shortened to BPR, is the weight of the balls divided by the weight of the sample. It is the quiet dial behind most grinding results.
A BPR of about 10:1 is a sensible starting point for routine work. Push it to 20:1 and you get faster size reduction and finer powder, because each particle sees far more collisions. Push it to 50:1 and you are entering mechanical alloying territory, where you are deliberately using so much energy that you can melt, amorphize or chemically react your sample.
High BPR is not free. More balls means more wear, more contamination and much more heat. If your material is temperature sensitive, a high BPR with short cycles usually beats a low BPR with one long run.
Where all that energy goes
Almost none of the energy you feed into a mill ends up as new surface area — often just a few percent. The rest becomes heat, noise and wear debris. That heat is why a jar can be too hot to touch after twenty minutes, and why ductile metals sometimes cold weld into one lump instead of turning into powder. Knowing that grinding is really a thermal process in disguise changes how you plan a run.
Ball Size: The Single Most Important Choice
If you change one variable, change this one. Ball diameter sets the scale of the damage a mill can do.
Bigger balls break bigger particles
A ball can only fracture a particle if the collision carries enough energy, and it can only reach that particle if the ball is meaningfully larger than it is. Feed a mill with 3 mm chips and 2 mm balls, and you are mostly polishing the chips rather than breaking them.
The trade-off with contact points
Here is the counterintuitive part: big balls are great at coarse work and bad at fine work. A 20 mm ball presents one contact geometry, and a handful of them barely touch a fine powder. A thousand 3 mm balls have an enormous number of contact points and will happily shear a powder down to a few microns.
There is a second effect too. A single heavy ball delivers a few huge blows, while many light balls deliver thousands of small ones. Huge blows create deep cracks in coarse particles; small repeated blows fatigue a fine particle until it fractures. Different mechanisms, different size ranges, both useful.
The practical answer is not "pick the right size" but "pick a spread."
A workable starting rule
A long-standing rule of thumb in comminution — the science of size reduction — is that the grinding media should be roughly ten times the diameter of the largest particle in your feed. In a lab planetary mill, that rarely means anything larger than 10 mm. Our usual starting points look like this:
- Coarse or brittle feed up to a few millimeters: 10 mm balls get you moving quickly.
- General-purpose lab grinding: 5 mm is the honest workhorse size.
- Final polishing to a fine powder: 2 mm and 1 mm balls, and plenty of them.
- Nano-scale or very precious samples: 0.5 mm and below, often in a dedicated small jar.
Mixed charges earn their keep
Loading two or three sizes together covers both stages of grinding in one run. A common blend is roughly 60 percent of the largest size, 30 percent of the middle size and 10 percent of the smallest. The big balls crack the feed; the small ones polish the result.
Remember that a mixed charge changes the packing behaviour inside the jar. Smaller balls settle into the gaps between larger ones, so you can fit more mass in than you might expect — which quietly raises your effective BPR.
Ball Material: Hardness, Density and Contamination
The material your balls are made of decides how hard they hit, how long they last, and what they leave behind in your powder. Contamination is the part people forget, and it is the part that ruins analyses. The table below is a rough map of what is available. Density and hardness values are approximate and vary with the exact grade.
| Media material | Approx. density (g/cm³) | Hardness | Typical contamination | Good fit for |
|---|---|---|---|---|
| 304 stainless steel | 7.9 | Moderate, very tough | Iron, chromium, nickel | General grinding of tough and brittle samples |
| Chrome steel | 7.8 | High | Iron, chromium | Hard minerals, longer working life |
| Zirconia | 5.9–6.1 | Very high | Zirconium, yttrium | Low-contamination fine grinding |
| Alumina | 3.6–3.9 | Very high | Aluminium | Cost-sensitive, low-density work |
| Agate | 2.6 | Moderate | Silica | Soft to medium samples, trace analysis |
| Tungsten carbide | 14.5–15 | Extremely high | Tungsten, cobalt | Maximum energy, very hard samples |
304 stainless steel: the general-purpose workhorse
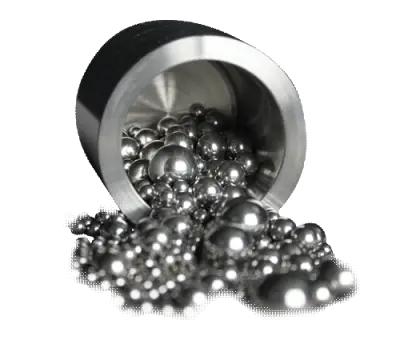
304 stainless steel is an austenitic alloy — meaning its crystal structure is face-centred cubic — and it is the media most labs reach for first. It is dense enough to hit hard, tough enough not to shatter, and corrosion resistant, so it handles slightly acidic or damp samples that would destroy plain carbon steel.
It is not the hardest option. If your sample contains quartz, corundum or anything else that scratches glass, steel media will wear visibly and you will find iron, chromium and nickel in your powder. For routine size reduction before a physical test, that is usually fine. For trace element analysis, it is not.
Zirconia and alumina: when contamination matters
Zirconia balls are the classic compromise. They are hard, chemically stubborn, and they leave behind zirconium rather than iron, which is a much easier contaminant to live with in many analytical workflows. Their density is lower than steel, so you may need a longer run or a higher rotation speed to match the same energy input.
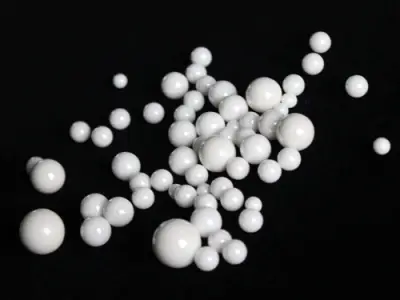
Alumina is cheaper and lighter still. It works well for softer materials, but because it is less dense, it often needs a higher BPR to do the same job.
Agate, tungsten carbide and the specialists
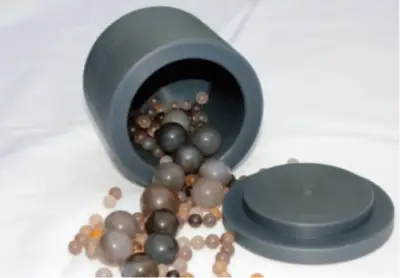
Agate is the gentle option. It is soft compared with the others, so it will not damage delicate samples, and the silica it contributes is invisible to many measurements. It is also the worst choice for hard minerals, where it simply wears away.
Tungsten carbide is the opposite extreme: extremely dense and extremely hard, which makes it the media of choice when you need maximum impact energy. The trade-off is cost and the fact that it introduces tungsten and cobalt, both of which matter in metallurgical work.
Hardness mismatch is a quiet killer
One rule outranks all the others: your media must be harder than your sample. If it is not, you are not grinding — you are slowly shaving your balls into the powder. The symptoms are easy to spot once you know them: grinding times that creep longer and longer, a powder with an unexpected colour, and media that look rounded and smaller than when you bought them.
How Full Should the Jar Be?
You can have perfect media and still get terrible results, simply because you loaded the jar wrong. Fill level is where a lot of beginners go astray.
The one-third rule
A good default is to fill about one third of the jar's volume with balls. That leaves the charge enough room to cascade instead of grinding against itself in a solid mass. Some recipes go up to 50 percent, particularly when fine grinding matters more than speed, but going beyond that usually costs you efficiency rather than gaining it.
Leave room to move
Once you add the sample, the total load — media plus powder — should generally stay below about two thirds of the jar volume. The powder is meant to fill the void spaces between balls, not bury them. If you cannot hear the charge tumbling when the mill runs, there is a good chance you have simply packed the jar too tightly.
Ball-to-powder ratio in practice
Combining the fill level and the ratio gives you a simple decision map:
- Fast, rough size reduction: large balls, moderate fill, BPR around 10:1.
- Fine powder with reasonable throughput: mixed ball sizes, one-third fill, BPR 15:1 to 20:1.
- Maximum fineness or mechanical alloying: small dense media, BPR 30:1 and above, short cycles with cooling pauses.
Speed, Time and Wet Versus Dry Grinding
Critical speed, in plain language
In a conventional tumbling mill there is a well-known number called the critical speed: the rotation rate at which the charge sticks to the shell and stops tumbling. Run above it and nothing grinds, because the balls just ride around the wall. Most operators aim for roughly 65 to 75 percent of critical speed, where the charge lifts, rolls and cascades back down.
Planetary mills work differently. The energy comes from the combined motion of the disc and the jar, and the important variable is the ratio between them. Get that ratio wrong and the same thing happens: the charge slides along the wall instead of cascading, and efficiency collapses.
How long is too long
For most lab-scale work, meaningful size reduction happens in the first 5 to 30 minutes. Beyond that, the curve flattens: you are mostly generating heat and wear. When a recipe genuinely needs an hour or more, run it in intervals — ten minutes of grinding, five minutes of rest — so the jar can shed heat. Your sample will thank you, especially if it is a polymer, a hydrate or anything with a phase transition in its future.
Wet grinding is often the shortcut
Adding a liquid turns your powder into a slurry, and a slurry behaves very differently from a dry powder. Particles get separated by the liquid, so they cannot weld back together. The liquid also carries heat away and reduces dust. For many materials, wet grinding reaches a finer particle size in less time than dry grinding does.
Common liquids are ethanol, isopropanol, acetone, water and hexane. Pick one that will not dissolve or react with your sample — and remember that whatever you use has to be removed afterwards, usually by drying in an oven or under a fume hood.
Process control agents and cold welding
Ductile metals love to cold weld. Instead of powder, you get one flattened metal pancake glued to the jar wall. The standard fix is a process control agent: a small amount of stearic acid, ethanol or another surfactant that coats the fresh metal surfaces and stops them from sticking. Typical additions are a fraction of a percent of the powder weight — a little goes a long way, and too much will cushion your impacts and slow grinding down.
Why the Jar Matters as Much as the Balls
Media and container are a system. The jar has to be hard enough to survive the impacts, chemically compatible with your sample, and shaped so the charge actually moves. It also becomes the wear partner for your media: hard balls in a soft jar grind the jar.
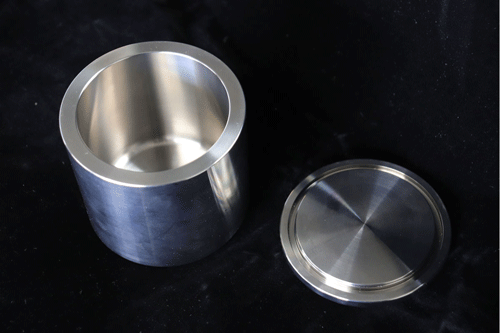
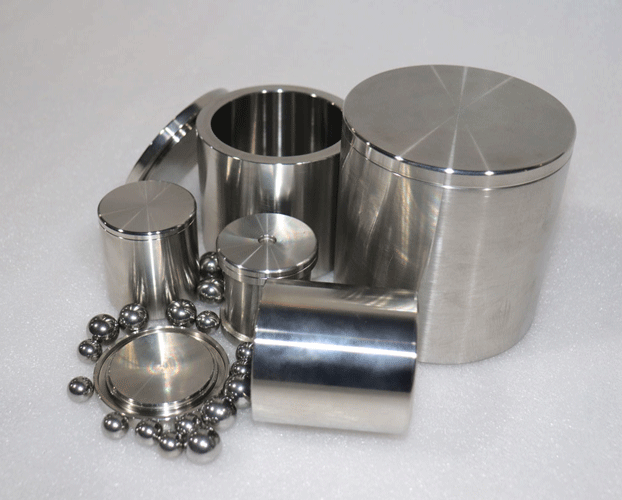
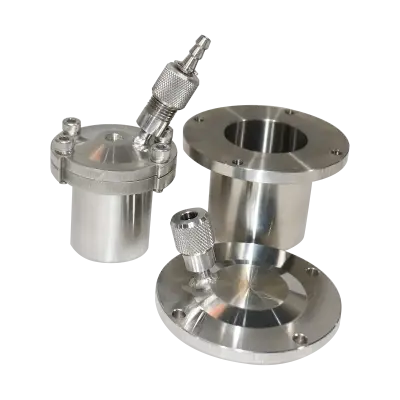
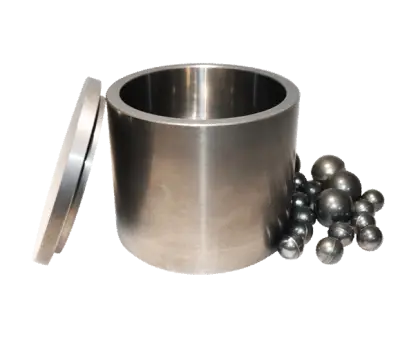
For general lab work with steel media, a 304 stainless steel planetary mill jar from TENCAN is a natural pairing. It is made from the same family of austenitic stainless steel as the media, which keeps wear behaviour consistent, and it stands up to the repeated impacts a planetary mill delivers. Because it resists corrosion, it also tolerates the mildly acidic or alcohol-based slurries that show up in wet grinding.
Matching jar material to media
Keep the hardness relationship sensible. Hard media in a soft jar will chew the jar apart and dump jar material into your sample. Soft media in a hard jar is wasteful but harmless. When in doubt, choose a jar that is at least as hard as your media, or expect to replace the jar long before the balls. If your workflow covers several different sample types, it is worth reviewing the full range of 304 stainless steel planetary mill jar options from TENCAN so that each material gets a container it deserves.
Seals, gaskets and sample loss
Every planetary jar seals with a gasket, and gaskets are the most common source of trouble. A worn or pinched gasket lets fine powder escape, and you will notice the loss only when your yield comes up short. Check the seal before every run, keep a spare set on hand, and never overfill — a jar packed to the brim will push powder into the seal no matter how careful you are.
Cleaning between samples
Cross-contamination is invisible until it ruins a result. Between samples, grind a small sacrificial batch of clean sand or alumina to scrub the jar, then rinse and dry thoroughly. Avoid using the same jar across very different chemistries, particularly where trace metals matter.
Matching Media to Your Sample: Three Quick Examples
A hard, brittle mineral
Think quartz, feldspar or a ceramic raw material. Start coarse: 10 mm media to break the feed, then a finer mixed charge to polish it. Steel works, but if you plan to analyze trace elements, move to zirconia. Expect a BPR around 15:1 and a wet slurry to keep the fines from flying.
A ductile metal powder
Aluminium, copper and soft alloys are the classic cold-welding offenders. Use dense media — steel or tungsten carbide — a modest BPR, and a process control agent. Short grinding intervals with cooling pauses will keep the powder from welding into lumps, and wet grinding with a non-reactive solvent helps enormously.
A polymer or an organic material
These are heat sensitive, so hard hitting is not what you want. Smaller, lighter media, a lower rotation speed, and interval grinding are the way to go. A light agate or zirconia charge in a well-sealed jar will get you a usable powder without melting the sample in the process.
Common Mistakes That Wreck Grinding Results
Almost every disappointing grinding run traces back to one of these:
- Too few balls, too much powder. A low ball-to-powder ratio means each particle sees very few collisions. Add media or reduce sample mass.
- Balls too small for the feed. No amount of extra time will fix a size mismatch — the collisions simply do not carry enough energy.
- Overfilling the jar. Past about two thirds full, the charge stops cascading.
- Ignoring heat. Long uninterrupted runs cook the sample and can change its crystal structure.
- Using worn media. Rounded, undersized balls grind slowly and shed contamination.
- Dry grinding a ductile metal. Without a process control agent, you get a pancake instead of powder.
- Grinding a hard mineral in a soft jar. You will spend more time wearing out equipment than making powder.
- Skipping the seal check. A tiny leak quietly steals your yield.
Quick Troubleshooting Table
| What you see | Most likely cause | What to try |
|---|---|---|
| Powder still coarse after a long run | Balls too small for the feed, or BPR too low | Step up to a larger ball size and raise the ball-to-powder ratio |
| Powder cakes on the jar wall | Ductile sample, dry grinding, or too much powder | Reduce the load, add a process control agent, or switch to wet grinding |
| Powder changes colour or picks up iron | Media or jar too soft for the sample | Move to zirconia or agate media, and a harder jar |
| Lid hard to open, powder in the threads | Overfilled jar or a worn gasket | Lower the fill level and replace the gasket |
| Jar uncomfortably hot after a short run | Excessive speed or continuous grinding | Switch to interval grinding and reduce the rotation speed |
| Yield much lower than expected | Leaking seal, or powder trapped in the gasket groove | Check and reseat the seal, and clean the jar properly between runs |
Questions We Get Asked About Grinding Balls
What size grinding balls should I start with?
For general lab work, start with 5 mm media and a mixed charge if you can. If your feed is coarse or brittle, begin with 10 mm and finish with a finer size in a second stage. If you are chasing a very fine powder, 2 mm or smaller will get you there faster than brute force with large balls.
How many balls should I put in the jar?
Fill roughly one third of the jar volume with media, then add sample until the voids between the balls are full. Keep the combined load under about two thirds of the jar volume, and aim for a ball-to-powder ratio near 10:1 for routine work.
Can I mix stainless steel and zirconia balls in one jar?
You can, but think about why you are doing it. Different densities mean different impact energies, which can give you a useful blend of coarse cracking and fine shearing. On the other hand, it complicates your contamination story and makes results harder to interpret. For consistency, keep one media type per jar.
Do grinding balls wear out?
Yes, and faster than most people expect. Balls that have become dull, rounded or noticeably smaller are no longer doing their job. Replace them in batches rather than one at a time so the charge stays balanced.
Do I need different balls for wet and dry grinding?
Often, yes. Wet grinding lets you use smaller media because the liquid prevents agglomeration, and smaller media gives you finer results. It also reduces the amount of heat the balls have to shed into the powder. If you switch from dry to wet, expect to retune your ball size and BPR.
How often should I clean the jar and media?
Whenever you change sample chemistry, and at least every few runs if you are working with a single material. Media can be rinsed and dried the same way as the jar. A five-minute clean costs far less than an unexplained result.
Bringing It All Together
Grinding media look simple — they are just hard objects in a jar — but they are the part of the process that decides whether you make powder or make a mess. Size picks the scale of the damage. Material picks how hard the hits land and what gets left behind. Fill level and ball-to-powder ratio decide whether the whole charge cascades properly or just sits there cooking.
If you remember only one thing, make it this: match the media to the sample, then match everything else to the media. Start with a modest BPR, a mixed ball charge and a jar that can take the punishment. Adjust one variable at a time, write down what you changed, and you will have a repeatable recipe in a fraction of the time it takes to guess.
Related Products
Get In Touch
Our professional team will reply to you within one business day. Please feel free to contact us!