
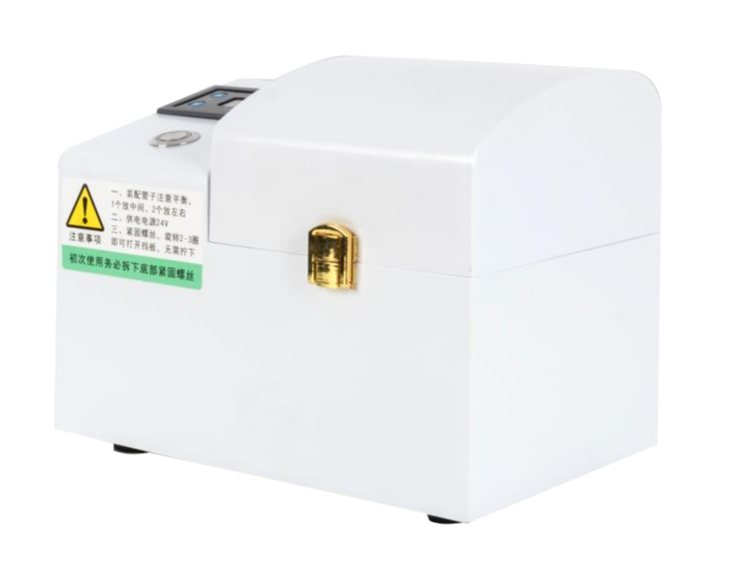
Portable Tissue Grinder: A Practical Guide to Fast, Reliable Lab Sample Prep

Every lab has a moment when a small piece of tissue has to become something you can pipette. Maybe you are chasing a protein, checking gene expression, or preparing samples for a teaching class. The tissue is precious, the protocol is tight, and the last thing you need is a sample prep step that fights you. That is where a portable tissue grinder earns its bench space.
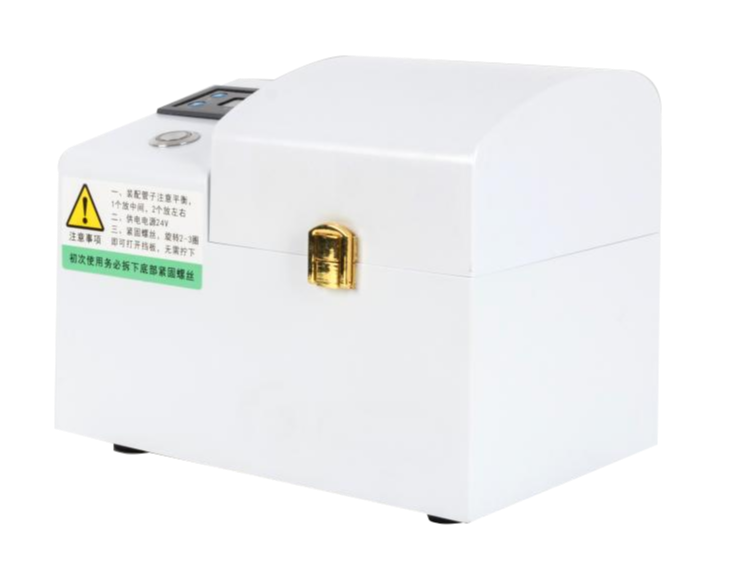
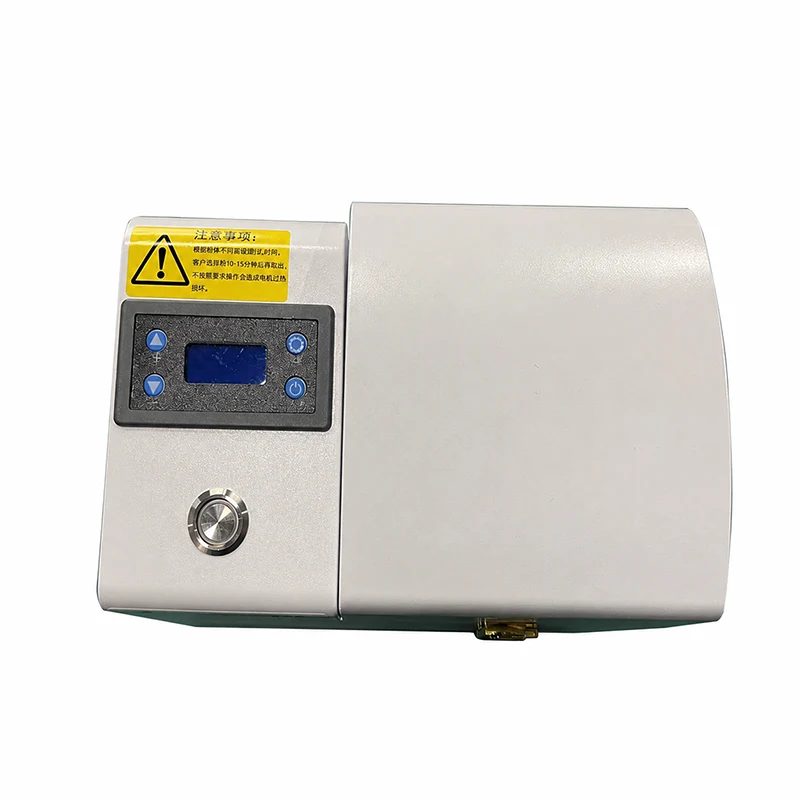
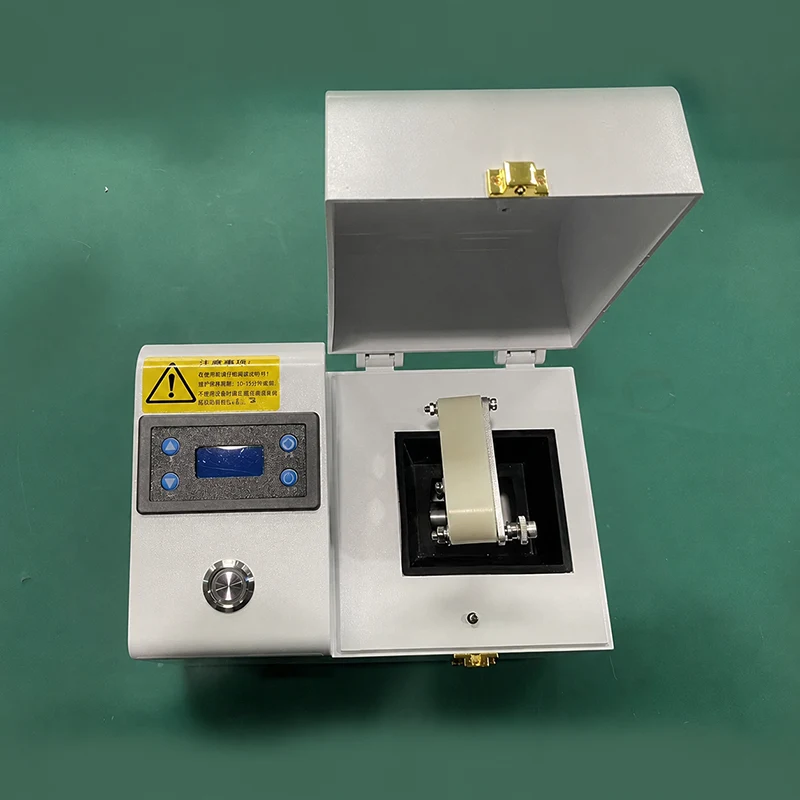
At its heart, a portable tissue grinder is a compact tool for breaking tissue into smaller, more uniform pieces so extraction buffers can do their job. It is not a magic box, and it is not a replacement for good technique. It is a controlled way to turn a stubborn piece of tissue into a sample you can handle. TENCAN's Portable tissue grinder is a good example of the category.
What a portable tissue grinder actually does
Start with the word “homogenization.” It simply means making a sample uniform. A piece of tissue is not uniform. It has cell membranes, connective tissue, and little pockets of the stuff you want to measure. If you drop a whole piece into buffer and shake it, you often get a piece of tissue floating in liquid. Grinding changes that. The sample becomes a slurry or a fine suspension, and the buffer can reach more of the target.
The device does the mechanical part for you. Depending on the design, it may shear, crush, or beat the sample inside a small tube or chamber. You do not need to know every engineering detail to use it well, but you do need to respect the basic idea: you are creating surface area and disrupting structure. That is what makes the downstream chemistry possible.
More force is not automatically better. Over-grinding can warm a sample, create foam, or shear the very molecules you want to study. The sweet spot is complete disruption with as little extra punishment as possible. A consistent, repeatable run matters more than a dramatic one.
Why “portable” matters in a working lab
Portable does not mean toy-sized or less serious. It means the tool can live where the work happens. A compact grinder takes up less bench space, is easier to move between rooms, and can be set up quickly for a small batch. If your lab runs several short projects instead of one giant production line, that flexibility is genuinely useful.
It also changes the social side of sample prep. A small instrument is easier to reserve, easier to clean, and less intimidating for a new student. You can run a quick method check without tying up a larger piece of equipment. A portable grinder is not trying to be a high-throughput floor unit. It shines when you have focused samples, limited space, or a protocol you want to test before scaling it up.
Where it fits, and where it does not
In molecular biology, the grinder is often the first physical step before extraction. DNA, RNA, and proteins all live inside structures that need to be opened up. A uniform homogenate gives your lysis buffer a fair chance to work. In teaching labs, the same feature is a blessing: students can see what proper disruption looks like, and the equipment is small enough to keep the session manageable.
Method development is another natural fit. When you are testing buffer recipes, grinding times, or sample-to-buffer ratios, you want a tool that is easy to control and easy to clean between conditions. A portable grinder lets you run those small trials without committing to a full-scale workflow.
Where does it not fit? Large-volume work and true high-throughput screening. If you need to process dozens of big samples at once, a compact grinder will feel like a bicycle on a motorway. That is not a flaw; it is a design choice. Match the tool to the batch.
The sample prep chain: think beyond the grind
Collection and stabilization
Good grinding cannot rescue a bad sample. Collect tissue quickly, follow your protocol for chilling or freezing, and keep the history clear. Write down how long the sample sat on the bench, what buffer it went into, and whether it has been through a freeze-thaw cycle. Those notes explain more weird results than any instrument manual.
Grinding and homogenization
Load the sample according to your protocol. Use a tube that fits properly, add the right volume of buffer, and choose a run time that disrupts the tissue without cooking it. If your device has adjustable settings, start gently and build up. If it does not, keep the run short and check the sample. A uniform slurry is the goal, not a contest.
Extraction and assay
Once the tissue is broken open, the buffer can access the target. This is where your lysis chemistry, incubation time, and purification steps take over. The grinder's job is to give those steps a consistent starting point. If the homogenate is lumpy, the extraction will be lumpy too — sometimes literally.
Cleanup and records
Clean the device after use, discard consumables properly, and note the settings you used. A quick record of tube type, buffer volume, and run time saves you from repeating the same mystery next month.
A protocol template you can adapt
Start with sample size
Small samples are easier to over-process, and large samples are easier to under-process. Aim for a piece that fits comfortably in the tube or chamber with room for buffer. If the tissue is tough, cut it into smaller pieces before you start. That one step often does more for consistency than a longer grind.
Match buffer to tissue
Use the buffer your extraction method calls for, and use enough of it to keep the sample moving. Too little liquid can make the grind pasty and hot. Too much can dilute your target and make downstream steps fussy. Your protocol should give a starting ratio; treat it as a starting point, not a law of nature.
Control the run
Run in short bursts if your device allows it. Short bursts give the sample less time to heat up, and they let you check progress. If you are processing several samples, keep the order and timing as even as you can. Consistency is what makes a comparison fair.
Protect the target
Heat, foam, and overly aggressive handling are the usual suspects when a target disappears. Work on ice or a cold block if your protocol allows, pre-chill buffers, and avoid letting the sample sit in the grinder longer than needed. If you are working with RNA, keep your workspace and tools clean of nucleases.
Clean between samples
Cross-contamination is quiet. A tiny carryover from one sample can show up as a strange band, a false signal, or a result you cannot repeat. Clean the device and change consumables between samples. It takes a minute; repeating an experiment takes longer.
Common mistakes and easy fixes
Most sample prep problems are small, boring, and fixable. Here are the ones we see most often.
- Too much tissue and too little buffer. The grind turns pasty, heats up, and mixes unevenly. Use less tissue or more buffer, then check the consistency.
- Grinding until it looks like soup. There is a point where extra run time adds heat, not quality. Stop when the sample is uniform and no visible chunks remain.
- Ignoring heat. Warm samples can lose enzyme activity or degrade nucleic acids. Chill what you can, and keep runs short.
- Reusing a tube or probe without proper cleaning. Carryover is easy to miss and hard to explain later. Change consumables and clean the device between samples.
- Changing three things at once. If a result goes sideways, you will not know what caused it. Change one variable at a time when you can.
Choosing a portable tissue grinder without guessing
First, look at the sample format. What tube or chamber does the device use, and does that match the way you already work? A grinder that forces you into an awkward transfer step will slowly lose your affection.
Second, think about control. Do you need adjustable speed or run time, or is a simple fixed protocol enough? There is no universal answer. A teaching lab may value simplicity; a method development lab may want more control.
Third, check the practical details: how easy is it to clean, how loud is it, how does it handle vibration, and what power does it need? A portable device should be easy to move and easy to live with. If the product page lists dimensions, weight, or power requirements, read them before you plan a bench space.
Fourth, look for clear documentation. You want instructions that explain tube loading, cleaning, and limits. A tool with good documentation is easier to train on and easier to troubleshoot. For the current details on TENCAN's Portable tissue grinder, including the exact specifications for the model, check the product page rather than guessing from a photo.
Quick troubleshooting table
| Symptom | Likely cause | What to try |
|---|---|---|
| Sample still has visible chunks | Run too short or tissue piece too large | Cut the tissue smaller, add a little buffer, and run in another short burst |
| Sample looks frothy | Too much agitation or too little liquid | Reduce run time, check buffer volume, and let the sample settle |
| Weak downstream signal | Heat, incomplete disruption, or carryover | Keep samples cold, check homogeneity, and clean between samples |
| Results vary between tubes | Inconsistent sample size or timing | Use similar pieces, follow the same order, and record settings |
Portable grinder vs. other sample prep tools
A mortar and pestle is classic, cheap, and effective for some tissues, but it is hard to standardize. You get a workout and a variable sample. A rotor-stator homogenizer is powerful and good for larger volumes, but it is often bulkier and harder to clean between tiny samples. Bead beating is excellent for high-throughput disruption, especially in tubes or plates, but it is a different workflow and often a bigger footprint.
A portable tissue grinder sits in the middle: more controlled than hand grinding, more compact than a floor-standing homogenizer, and well suited to small batches where you want repeatability without a big setup. That middle ground is exactly why it stays on the bench in many labs.
Care, cleaning, and the little habits that save you
Clean the device as soon as you finish. Dried tissue is harder to remove than fresh tissue, and residue is a gift to nobody. Follow the manufacturer's cleaning instructions, and pay attention to the parts that touch the sample. If a tube or chamber is disposable, use it once. If it is reusable, inspect it for cracks and scratches.
Store the grinder dry and covered when it is not in use. Keep the power cable tidy, and do not let buffer creep into places it should not go. A small preventive habit beats a big repair bill.
Questions from the bench
Can it grind frozen tissue?
That depends on the sample, the tube format, and your protocol. Frozen tissue can be brittle and hard, and it can thaw quickly during grinding. If you work with frozen samples, keep the process short, pre-chill what you can, and check the product instructions for the recommended approach.
How long should I run it?
There is no single number that fits every tissue. Start with a short run, check the sample, and add time only if needed. A uniform slurry with no visible chunks is a better stopping point than a fixed number copied from someone else's protocol.
Is it suitable for RNA work?
Yes, if you control the usual RNA enemies: heat, nucleases, and careless handling. Use nuclease-free consumables, keep the workspace clean, work cold when possible, and do not over-grind. The grinder is one step in the chain, not the whole chain.
Can I use it for large samples?
A portable tissue grinder is built for focused, small-batch work. If your samples are large or you need to process many at once, a different format will serve you better. Use the compact tool for the jobs it was designed for, and you will both be happier.
A simple bench checklist
Before you start the next batch, run through this quick list.
- Sample size is consistent and fits the tube or chamber.
- Buffer volume matches the protocol and keeps the sample moving.
- Tubes and tools are clean and appropriate for the target.
- Cold chain is under control, especially for RNA or proteins.
- Run time is short enough to avoid unnecessary heat.
- Sample is checked for visible chunks before you stop.
- Device and workspace are cleaned between samples.
- Settings, tube type, and any deviations are written down.
Related Products
Get In Touch
Our professional team will reply to you within one business day. Please feel free to contact us!