
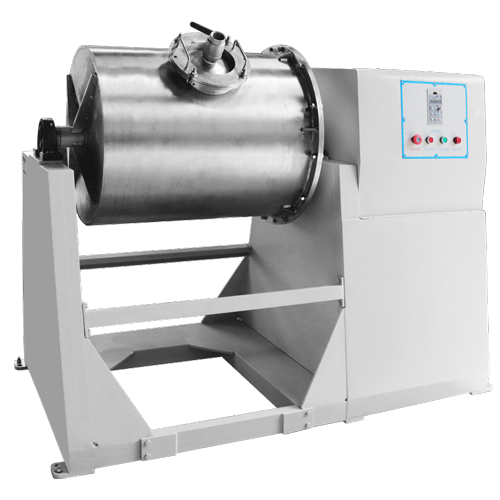
Light-Duty Roll Ball Mill: A Practical Guide to Setup, Loading, and Safe Milling

A roll ball mill looks almost too simple: a drum, some grinding balls, and a pair of rollers turning underneath. That simplicity is exactly why people keep coming back to it. You load a sample, close the drum, set the speed, and let the machine do the boring part while you get on with something else. But simple does not mean foolproof. The difference between a clean, repeatable result and a frustrating afternoon usually comes down to a few small choices you make before the mill even starts.
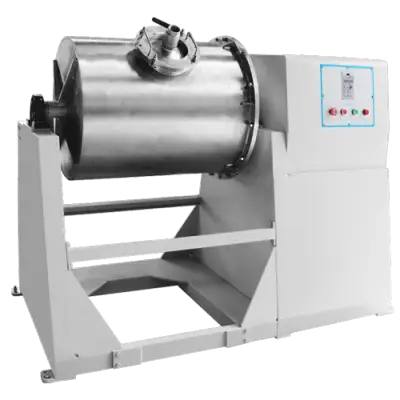
This guide is about the light-duty roll ball mill, using TENCAN's light-duty roll ball mill as the reference model. We will look at what the machine does, where it fits, how to set it up, and how to keep your runs consistent. If you are trying to decide whether roll milling belongs in your lab, or you already have a mill and want better results, this should give you a practical place to start.
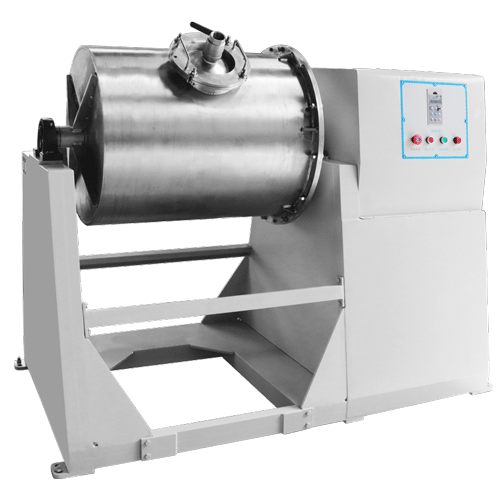
What a roll ball mill is actually doing
At its heart, a ball mill is a hollow drum containing grinding media—usually balls made from ceramic, agate, zirconia, stainless steel, or another material that suits your sample. When the drum turns, friction drags the ball charge up the inside wall. At some point, gravity wins. The balls tumble, roll, and occasionally fall back onto the material.
That motion gives you two useful actions. One is impact: a falling ball hits the powder and breaks it. The other is attrition: as balls rub and roll against each other, they shear and grind the powder more gently. The balance between impact and attrition depends on drum speed, drum diameter, ball size, ball density, and how much material you put inside.
A roll ball mill is a little different from a planetary mill or a shaker mill. In a planetary mill, the drum spins around its own axis while the whole assembly rotates in the opposite direction, producing high energy in a compact package. A shaker mill moves the vessel back and forth at high speed, which is great for small samples and short runs. A roll ball mill is more like a slow, steady tumbler. The drum sits on powered rollers and turns at a controlled speed. The energy is lower, but the motion is gentle, continuous, and easy to scale from a small jar to a larger drum—within the limits of the machine, of course.
That slow, steady action is not a weakness. For many materials, it is exactly what you want: less heat, less shock, and a more uniform blend. If your sample is sensitive to temperature or you need to mix a powder without crushing every particle into dust, a roll mill can be a sensible choice.
Where a light-duty roll ball mill earns its place
Light-duty is not another way of saying toy. It describes a load class. These mills are built for smaller drums, smaller batches, and lighter daily use than heavy production units. That makes them a good match for laboratories, pilot lines, and workshops that need flexibility more than raw tonnage.
Good fits for small-batch work
You will see light-duty roll mills in places where the sample is valuable, the batch is measured in grams or a few kilograms, and the method needs to be repeated. They are handy for:
- Grinding and blending mineral samples before analysis.
- Mixing ceramic powders, pigments, and glaze ingredients.
- Preparing small batches of battery materials, catalysts, or other research powders.
- Wet or dry milling, depending on the drum and media you choose.
- Testing a formulation before scaling it up.
The common thread is not the industry. It is the need for a controllable, low-attention process. You can start a run, check it at intervals, and use the time for something else. That sounds minor until you have spent a day babysitting a high-energy mill that demands constant cooling and short cycles.
Where it can disappoint
A light-duty roll mill is not the right tool for every job. If you need to reduce a hard, coarse rock from centimeters to microns in one pass, a roll mill will probably feel slow. If you need extremely high energy for mechanochemical reactions, a planetary mill is usually the better starting point. If your sample is sticky, greasy, or prone to coating the drum and balls, tumbling can turn into a smearing exercise rather than a grinding one.
Also, be honest about throughput. A light-duty unit is designed around smaller drums and lighter loads. If your process needs continuous production, you should be looking at a different class of equipment. Buying a small mill and expecting it to behave like a production line is a recipe for worn parts, long nights, and disappointing output.
Setting up the mill without guesswork
Most milling problems start before the powder goes in. The drum, the media, the fill level, and the roller spacing all need to agree with each other. Get those right and the rest is mostly record-keeping.
Choose the drum and grinding media
Start with the material you are milling and the contamination you can tolerate. A ceramic drum with ceramic balls is a common choice for hard, brittle samples when iron contamination matters. Agate is useful for very small samples and gentle grinding, but it is not the right choice for heavy impact. Zirconia gives you higher density and good wear resistance. Stainless steel is tough and dense, but it can introduce iron and chromium into your sample.
Media size is a trade-off. Larger balls carry more impact energy and break coarse particles faster. Smaller balls create more contact points and are better for fine grinding and uniform mixing. A mixed charge can sometimes help, but it also makes your results harder to reproduce. If you are developing a method, pick one media type and size, then change only one variable at a time.
The drum itself must be rated for the mill and the process. Do not assume that any cylindrical vessel will do. Check the product documentation and use a drum that fits the roller spacing, the drive, and the safety guard. The light-duty roll ball mill page is the place to confirm the current drum options and limits for the exact configuration you are considering.
Load the drum like you mean it
Fill level matters more than most people expect. If you underfill the drum, the balls have too much room and tend to slide or rattle instead of tumbling through the powder. If you overfill it, the charge has nowhere to move, and you lose the cascading action that does the work. A practical starting point is to fill the drum somewhere around one-third to one-half of its volume with media, then add sample until the voids are comfortably filled without burying the charge. That is a starting point, not a law. The right fill depends on your material and your target particle size.
Keep the ball-to-powder ratio consistent between runs. This is one of the easiest variables to control and one of the easiest to accidentally change. If you double the sample but keep the same ball charge, you have changed the ratio, and your result may shift. Write down the mass of balls, the mass of sample, and the drum volume. A simple logbook will save you more time than any clever shortcut.
Set roller spacing and speed
The drum should sit securely on the rollers without slipping and without being pinched. If the spacing is too wide, the drum may bounce or fail to turn evenly. If it is too tight, you add friction and wear to the rollers and the drum. Adjust the spacing according to the drum diameter, then turn the drum by hand through a full revolution before you start the motor. It should rotate smoothly with no binding.
Speed is the next lever. At low speed, the ball charge slides and rolls; at higher speed, it lifts and cascades; go too high and the charge can centrifuge against the drum wall and stop doing useful work. The exact speed depends on drum diameter and media, so use the mill's controls and the product guidance rather than guessing from a video. If you change drum size, revisit the speed. A setting that worked beautifully on a small drum can be wrong on a larger one.
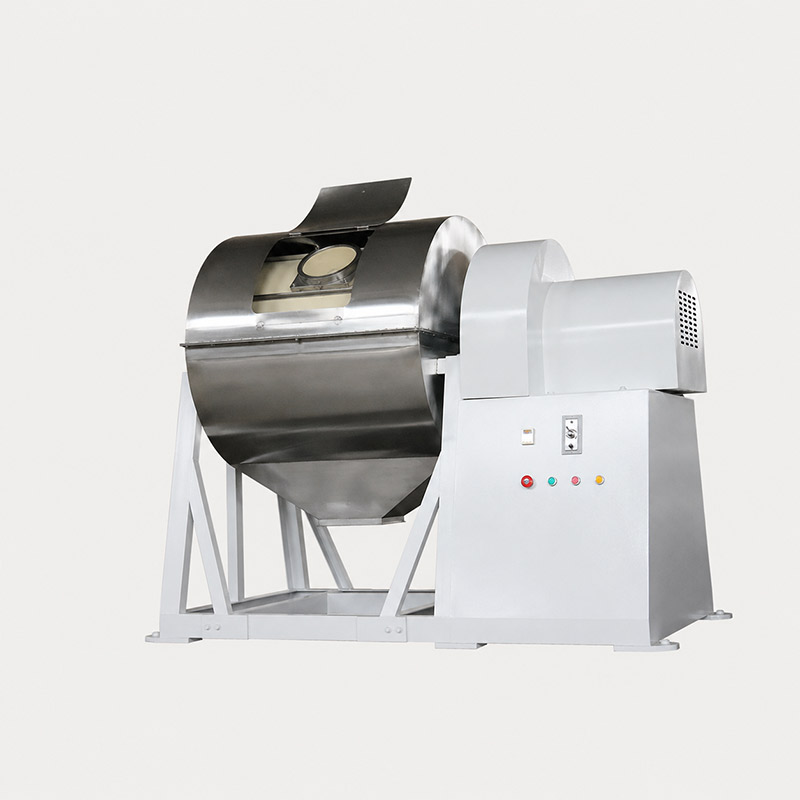
How to make runs repeatable
Repeatability is not about finding one magic number. It is about controlling the variables you can control and recording the ones you cannot. The more honest your records, the faster you will find a method that works.
Keep the fill level and ball charge consistent
Weigh your media and sample. Do not rely on about half full if you need to compare results across weeks or operators. Use the same drum, the same media, and the same fill level for each run in a method. If you must change a variable, change only one. That sounds slow, but it is much faster than chasing a mystery caused by three changes at once.
Track time, speed, and sample load
Record the milling time, the roller speed setting, the drum type, the media type and size, the sample mass, and the starting particle size. If you are wet milling, record the liquid, the solids loading, and any additive. A table works well for this. You do not need a complicated laboratory information system; a printed sheet taped near the mill is enough. The goal is to make next month's run comparable to today's.
| Variable | Why it matters | What to record |
|---|---|---|
| Drum | Sets volume, material contact, and fit on the rollers | Type, volume, and condition |
| Media | Controls impact energy and contamination risk | Material, diameter, and mass |
| Sample | Determines the ball-to-powder ratio and fill | Mass, starting size, and moisture |
| Speed | Changes the motion of the charge | Setting and actual drum RPM if available |
| Time | Controls cumulative energy and heat | Total run time and any pauses |
Watch for heat and contamination
Even a gentle mill puts energy into the sample. Over time, that energy becomes heat. If your powder is heat-sensitive, run in shorter cycles, allow the drum to cool between cycles, or reduce the load. Touch the drum after a run—carefully—and note whether it is warm, hot, or unchanged. That simple observation tells you more than a guess about normal operation.
Contamination is the other quiet variable. Media wear does not disappear; it goes into your sample. If you are milling a hard abrasive, expect some wear and choose media accordingly. If your analysis is sensitive to iron, avoid steel media. If you are switching between samples, clean the drum and media properly and consider a dedicated set for trace work. A quick rinse is not enough when the next sample is going to be analyzed for the same element you just ground.
Safety and maintenance habits that pay off
A roll mill has exposed rotating parts. That is the first thing to respect. Keep the guard in place, keep loose clothing and hair away from the rollers, and never reach into the running machine to adjust a drum. If the mill has an emergency stop, test it before you need it. If it does not, treat the power switch as the last line of defense, not the first.
Dust is the second issue. Dry milling creates fine powder, and fine powder travels. Open drums in a ventilated area, use a dust mask when handling fine materials, and clean up spills before they become airborne. If your material is hazardous, follow your site's safety procedures and use appropriate containment. No article can replace your local risk assessment.
Maintenance is mostly boring, which is good. Keep the rollers clean and free of powder. Check for wear, flat spots, or buildup that could make the drum run unevenly. Make sure the drum sits square and the rollers are parallel. Listen to the mill. A new rattle, squeak, or uneven hum is worth investigating before it becomes a repair. If the machine has a rated duty cycle, respect it. Running a light-duty mill continuously beyond its design is not a clever productivity hack; it is a way to shorten its life.
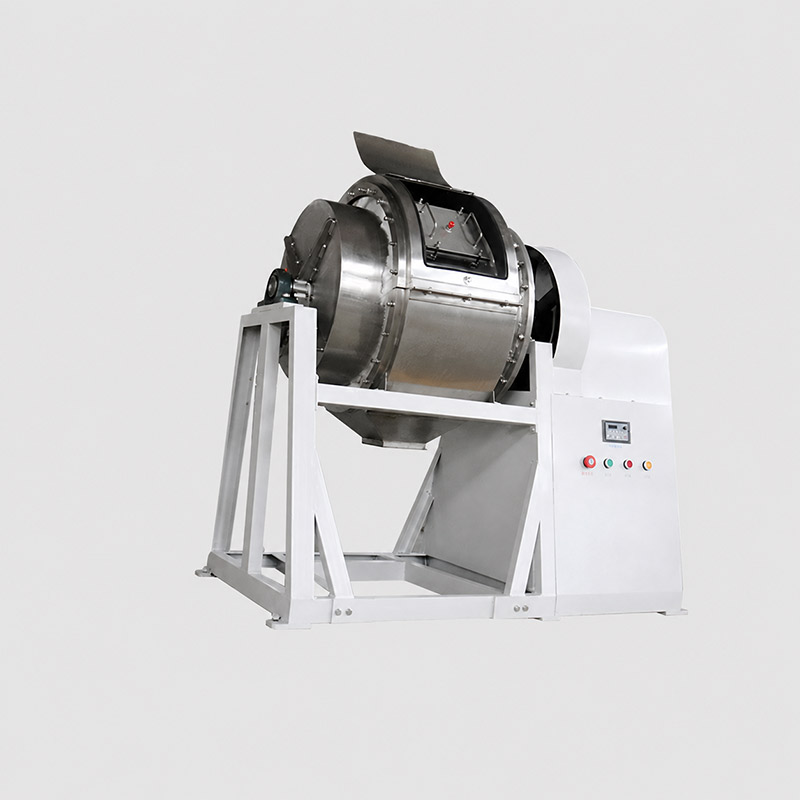
What to check before you buy
If you are comparing light-duty roll ball mills, do not start with the price alone. Start with the work you need to do. The right questions are practical: What drum sizes do I need? What is the maximum load? How is the speed controlled? What safety guard is fitted? How much bench or floor space will it take? Can I get spare rollers and drums without a long wait?
Then look at the details that affect daily use. A mill with a clear, easy-to-read speed control is nicer to work with than one that requires guesswork. A guard that can be removed for cleaning without tools will save time. Rollers that are easy to adjust make drum changes less irritating. None of these points are glamorous, but they are the things you will notice every week.
The numbers worth writing down
Before you commit, list the numbers that matter for your method: drum capacity, maximum drum diameter, roller speed range, motor rating, duty cycle, overall dimensions, and weight. Ask for the current data sheet for the exact configuration you are buying. A number copied from an old listing may not apply to the unit on your bench.
One more thing: think about the whole workflow, not just the mill. You need a way to weigh the charge, a clean bench for loading, a safe place to open the drum, and a plan for cleaning media between samples. A mill that fits your bench but not your workflow will soon become a shelf ornament. Measure the space, check the door width if the mill has to move through a corridor, and confirm that the drum you plan to use is available in the material you need. Those checks take ten minutes and can save a lot of return shipping.
For the reference model in this guide, start with the TENCAN light-duty roll ball mill product page and confirm the current drum options, roller arrangement, and electrical configuration for your location. Product details can change by market and configuration, so use the page as the source of truth rather than a copied specification from an old catalog.
Matching the mill to your sample
Different samples behave in different ways, and a light-duty roll mill rewards you for paying attention to that. Hard, brittle materials usually respond well to higher-density media and a charge that promotes impact. Soft, fibrous, or sticky materials may need lower energy, shorter cycles, or a different milling approach altogether. If the powder coats the drum and balls, the mill is not grinding it; it is polishing it. Stop and rethink the load, the media, or the moisture content.
For heat-sensitive materials, use shorter runs and cool between them. For samples that tend to agglomerate, a dry milling aid or a different fill level may help, but test it on a small scale first. For wet milling, keep the solids loading consistent and make sure the drum and lid are compatible with the liquid. Water is not the only option, and the wrong liquid can react with the sample or the media.
The light-duty roll ball mill is at its best when you treat it as a controlled process tool, not a magic box. Give it a sensible drum, a sensible charge, and a consistent speed, and it will reward you with repeatable results and very little drama. Give it an overloaded drum and a random speed setting, and it will happily turn your sample into an inconsistent mess.
Related Products
Get In Touch
Our professional team will reply to you within one business day. Please feel free to contact us!