
Lightweight Vibrating Ball Mill: How High-Frequency Vibration Grinds Powder Fast

If your sample preparation routine has ever involved a mortar and pestle, a sore wrist and a lump of clinker that stubbornly refuses to break, you already know why grinding equipment earns its bench space. Most laboratories start with a slow tumbler mill or a planetary ball mill, and both do honest work. There is a third option that gets far less attention, though: the vibrating ball mill. It does not rotate its jar slowly like a tumbler, and it does not swing the jar around a disc like a planetary mill. It shakes, hard and fast, thousands of times a minute.
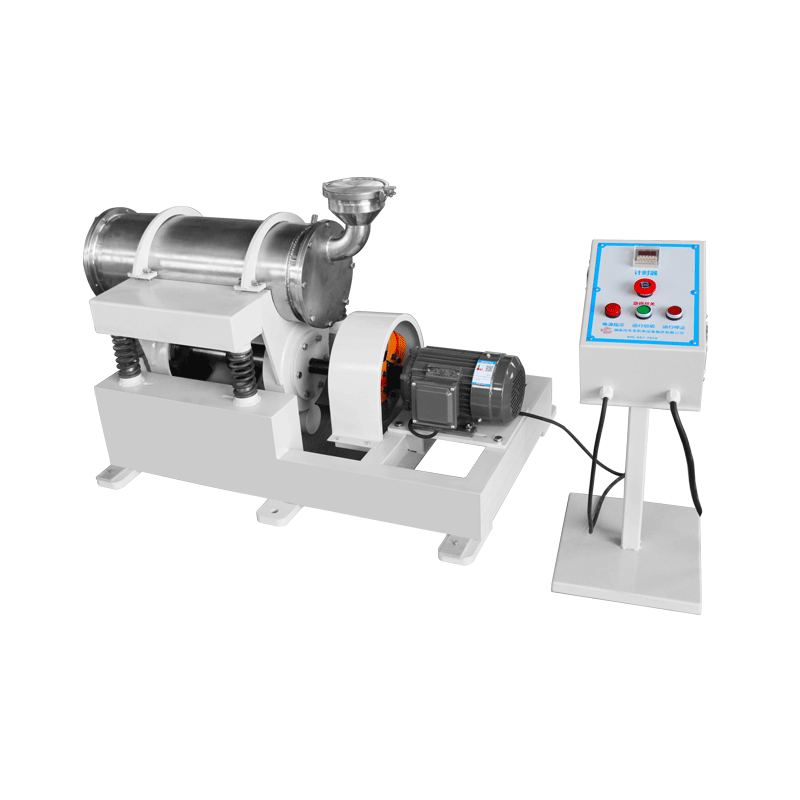
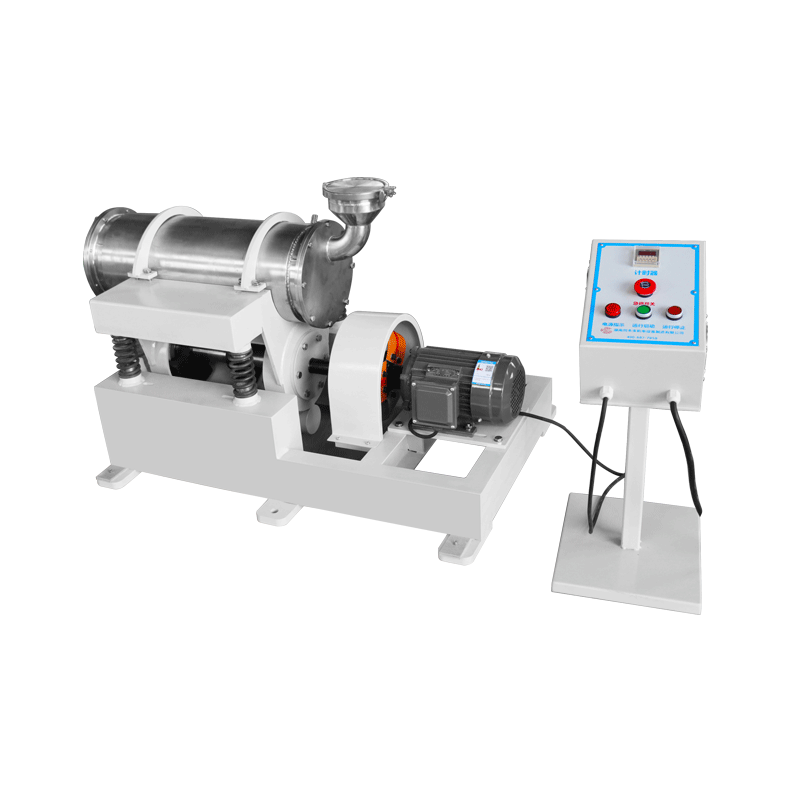
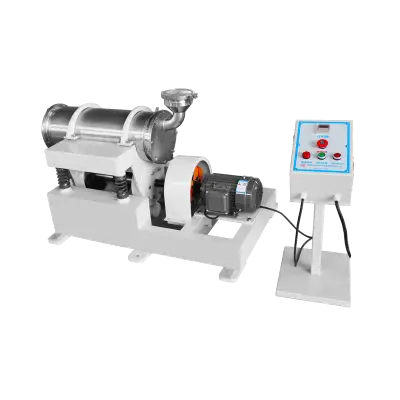
A machine such as the Lightweight vibrating ball mill mounts the grinding jar on a spring-supported frame driven by an unbalanced motor, so the jar and everything inside it are thrown back and forth continuously. That single design choice changes almost everything downstream: how fine you can grind, how much material fits into one batch, where the machine can live in your building, and how much attention it needs while it runs. Below we will go through the mechanics in plain language, look at what this class of mill is genuinely good at, and work through the practical decisions — media, fill level, dry or wet, run time — that decide whether you end up with a clean, uniform powder or a warm, caked mess.
What a Lightweight Vibrating Ball Mill Really Is
A vibrating ball mill is a grinding machine in which the grinding chamber is shaken rather than rotated. Inside that chamber you place grinding media — small spheres, short cylinders or rods — together with the material you want to reduce. Because the whole jar is vibrating, the media do not simply roll over one another the way they do in a slowly turning drum. They jump, collide and grind against each other and against the jar wall. Powder trapped between two colliding media is crushed. Powder dragged along a media surface is rubbed and sheared. Both actions happen at once, which is why a vibration mill can take a fairly coarse feed and return a fine powder in a surprisingly short run.
The comparison with other mills is worth making. A planetary ball mill rotates its jars on a spinning disc, which produces strong centrifugal forces and excellent energy density, but the jars are usually small and a batch is often measured in grams up to a few hundred grams. A tumbler or roller mill relies on gravity: the drum turns slowly, the media tumble to the bottom, and grinding happens gently over hours. A vibrating mill sits between those two worlds. It uses mechanical vibration to create frequent, moderately energetic collisions, so it grinds faster than a tumbler while handling larger batches than a typical planetary setup.
The parts you can point to
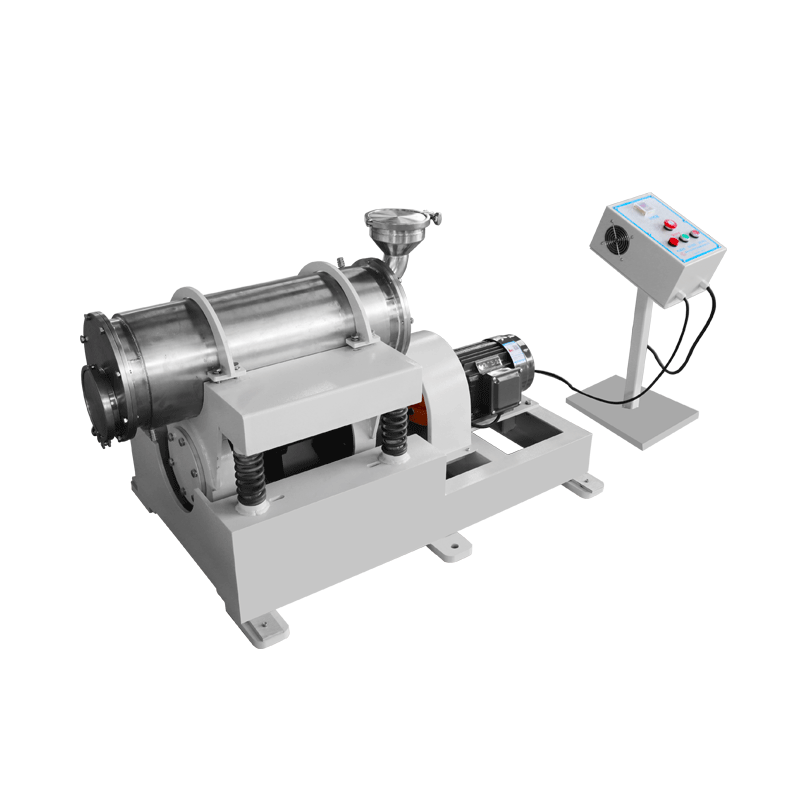
- Grinding jar or chamber — the vessel that holds your sample and the media. It may be a cylindrical pot or a tube-shaped chamber, and it is the component that wears, so it is normally replaceable.
- Clamping system — the frame that holds the jar firmly on the vibrating deck. If the clamp is loose, the jar rattles, and energy that should be grinding your sample disappears as noise.
- Vibrating frame and springs — the moving mass of the machine, suspended so it can oscillate. The springs let the frame move freely while keeping the base reasonably still.
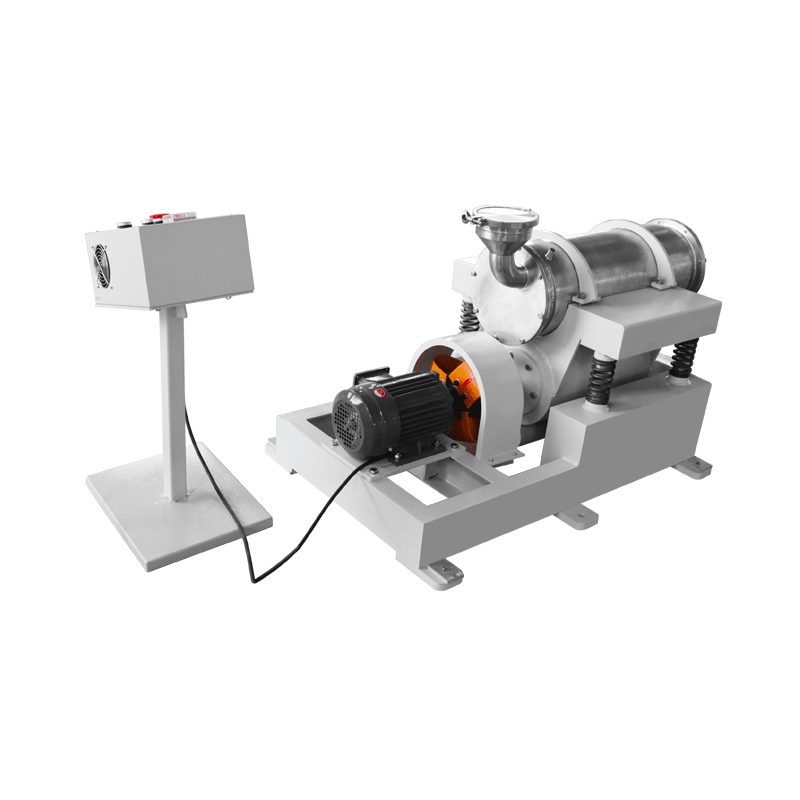
- Unbalanced motor — a motor fitted with an eccentric weight on its shaft. As the weight spins, it generates a rotating force that pushes the frame back and forth. That is where the vibration comes from.
- Base and dampers — the heavy part that stays put. Rubber feet or dampers soften the vibration reaching the floor or the bench.
- Timer and controls — the panel that lets you set a run time and switch the machine on and off. On most models it is deliberately simple, because the process itself is not complicated.
Why "lightweight" is more than a marketing word
The word lightweight tells you something practical about how the machine will be used. A lighter mill can be lifted onto a bench, moved between rooms or repositioned by one or two people, without a forklift or a rigging crew. In shared laboratory buildings, where equipment migrates between projects and floor loading is a genuine constraint, that matters more than any single line on a specification sheet.
There is an honest trade-off to keep in mind. Mass is a stabiliser. Heavy machines tend to run quieter and tolerate a slightly overloaded jar, because their bulk absorbs the extra vibration. A lightweight machine asks you to respect the load limits, clamp the jar properly and place it on a solid, level surface. Do that, and it will work happily for years. Ignore it, and you will hear the difference on the very first run.
How Vibration Actually Breaks Particles Down
Grinding looks simple until you try to control it. The powder leaving a mill is the result of thousands of small events per second, and understanding which event dominates helps you tune the machine instead of guessing.
Impact, attrition and the balance between them
Two mechanisms do most of the work. Impact is what happens when a ball travelling at speed strikes another ball with powder caught in between — the particle is squeezed, and it cracks. Attrition, sometimes called abrasion, is gentler: particles are dragged and sheared along the surfaces of media and jar wall, and their sharp corners are rubbed away. Impact breaks large chunks quickly. Attrition polishes those chunks into fine powder and narrows the particle size distribution.
You influence that balance through the media. Large, dense media favour impact. Many small media favour attrition and produce a finer powder, though coarse breakage becomes slower. Very often the best answer is a two-stage approach: a short run with larger media to break the feed down, then a longer run with smaller media to refine it.
Frequency versus amplitude, without the mathematics
Frequency is how many times the jar shakes per minute. Amplitude is how far it travels on each shake. Think of a hammer: a fast tap with a light hammer, or a slow, big swing with a heavy one. High frequency with a modest amplitude produces many contacts per second, which favours fine grinding and builds heat quickly. Lower frequency with a larger amplitude gives fewer but stronger impacts, which helps when the feed is coarse and tough.
Because frequency and amplitude are fixed by the motor and the geometry of the machine, the lever you actually control is the load: how much media, how much sample, and what size the media are. Fill the jar too full and the media cannot move; the machine vibrates, the jar rattles, and almost nothing gets ground. Fill it correctly and the whole charge becomes a churning, colliding mass that spends its energy on the sample.
Why the motion inside the jar is never random
A vibrating jar does not stir its contents randomly. The media circulate in patterns driven by the direction of vibration and the shape of the chamber. That is exactly why fill level matters so much: with the right amount of media, the charge circulates freely and every particle passes through the high-energy zones many times. With too little media, the media simply bounce off the walls. With too much, circulation stops and the energy is spent on the jar itself.
Springs and dampers play a supporting role here. They isolate the base from the moving frame, which keeps the machine from creeping across the floor and keeps the vibration focused where it belongs — inside the jar.
Materials It Handles Well — and Materials It Does Not
Vibration mills are generalists, but they are not universalists. They prefer material that is brittle. Hardness is less of a barrier than toughness: a very hard but brittle material will grind, while a softer but rubbery one will simply deform and bounce.
- Cement clinker, limestone and other mineral raw materials
- Ceramic frits, glazes, glass cullet and refractory fragments
- Quartz, feldspar, sand and silicate minerals
- Ores, slags and concentrates prepared for assay
- Pigments, dyes and mineral fillers
- Activated carbon, graphite and other carbon materials
- Battery cathode and anode powders, where contamination control allows
- Dried soil, sediment and plant tissue prepared for elemental analysis
Notice the pattern: all of these are brittle, and most of them are reasonably dry. Those two properties, more than anything else, predict whether a vibrating mill will be the right tool for the job.
The list of poor candidates is just as useful to know:
- Fibrous materials such as paper, textile and some plant stems — fibres tangle around the media instead of breaking
- Soft, waxy or thermoplastic polymers — friction heat softens them and they smear across the jar wall
- Sticky, moist or high-fat material — it cakes, cushions the media and kills energy transfer
- Very heat-sensitive compounds — unless you are willing to grind in short intervals or in a liquid
There is also a size question. Vibration mills are happiest receiving feed already crushed to a few millimetres or finer. If you start with fist-sized lumps, run them through a jaw crusher or a coarse crusher first. Doing everything in one machine sounds efficient, but it is slow and hard on the jar.
Dry Grinding or Wet Grinding?
This is the decision that most often determines whether your powder comes out free-flowing or welded to the jar wall.
Dry grinding keeps the process simple. There is no liquid to remove afterwards, the powder discharges quickly, and there is no risk of a solvent interacting with your sample. The problems are the familiar ones: dust, static charge, fine particles clinging to media and wall, possible oxidation of sensitive material, and poor heat removal. Once the powder becomes fine enough, it tends to coat the media, which cushions collisions and slows grinding down.
Wet grinding solves several of those problems at once. The liquid keeps particles apart so they cannot re-stick to each other, it carries heat away from the grinding zone, it suppresses airborne dust, and it usually lets you reach a finer particle size. The price is an extra step: you have to filter or dry the slurry afterwards. The liquid also has to be compatible with both your sample and the jar material — water plus a steel jar means rust, and an acidic slurry plus steel means contamination.
Common liquids in laboratory practice are deionised water, ethanol, isopropanol and acetone. The aim is a slurry thin enough that the media can still move, not a thick paste. If the mixture looks like peanut butter, you have added too much solid or too little liquid, and the motor will feel it.
Choosing Grinding Media
Media choice is the quiet variable that decides contamination levels, grinding speed and final particle size. The material of the media should always be harder than your sample, and ideally chemically inert towards it.
| Media material | What it is good for | The trade-off |
|---|---|---|
| Agate | Soft to medium samples where contamination must be kept minimal | Relatively light, so impacts are gentle; not ideal for very hard feeds |
| Zirconia | Hard, brittle samples that need dense media and low contamination | Higher cost per kilogram |
| Alumina | General laboratory grinding and routine work | Can introduce aluminium traces into the sample |
| Stainless steel | Tough mineral and metallurgical feeds | Adds iron and chromium; unsuitable for acidic slurries |
| Tungsten carbide | Very hard, tough samples that need fast grinding | Expensive and heavy; can leave tungsten and cobalt traces |
| Glass | Soft materials and low-cost work | Wears quickly and contaminates the sample as it does |
Size, count and fill level
Media size follows a simple logic. Bigger media carry more momentum, so they break coarse feed faster but leave a coarser product. Smaller media create more contact points, so they refine powder more effectively but struggle with large chunks. If your feed is already fine, go small; if it is chunky, start larger and finish smaller.
Fill level is where most beginners go wrong. The jar needs empty space for the media to accelerate into — that space is not wasted, it is where the impacts come from. A practical starting point for laboratory work is media filling roughly a third to half of the jar volume, with the sample occupying only part of the remaining void. Your machine documentation and the supplier's guidance for your specific jar remain the authority, because the optimal charge depends on jar geometry and on how dense your media are.
One habit is worth building early: keep jars and media paired and labelled. If you grind a hard mineral in a jar and then use the same jar for trace analysis, you may carry contamination along with the powder. Dedicate one set to trace work, clean everything thoroughly, and store media dry.
A Pre-Flight Checklist Before You Press Start
- Match the jar and media to the sample. Harder sample, harder media. Aggressive slurry, corrosion-resistant jar.
- Check the jar and its seals. A worn gasket leaks fine powder and lets the charge escape as dust.
- Load media first, then sample. This mixes better and prevents the sample from sitting in a corner.
- Leave free space. A good part of the jar should still be air, or the charge will not circulate.
- Clamp evenly and firmly. Tighten the clamp symmetrically so the jar sits flat on the deck.
- Set a conservative run time. For heat-sensitive material, choose short intervals with pauses instead of one long run.
- Start the machine and listen. A steady hum is normal. Rattling, buzzing or a sudden change in tone means stop and check the clamp and the load.
- Record what you did. Jar, media, charge weight, time. Reproducibility is built on notes, not memory.
Questions That Show Up After the First Run
Why is the powder warm, or even hot?
Because grinding is a mechanical process, and mechanical energy that does not go into creating new surfaces turns into heat. Friction between media, between media and wall, and inside the powder itself all contribute. If your material is heat-sensitive, grind in short bursts with cooling pauses, switch to wet grinding, reduce the media load slightly, or use a jar with better heat dissipation. Heat is also a signal that you have been grinding longer than the material needed.
Why is powder sticking to the jar wall?
Three usual suspects: static charge, residual moisture and simply being very fine. Dry powders below a certain size cling to everything. Wet grinding is the most reliable cure. Other options include drying the feed more thoroughly before grinding, reducing the sample load so the media keep scouring the walls, or changing the media material to one that charges less readily.
How long should one grinding run last?
There is no universal number, but there is a reliable method. Start with a short run, then check the result — by sieving, by feel between your fingers, or with whatever particle size measurement your lab has. If it is not fine enough, extend the time in increments. Grinding follows a curve of diminishing returns: the first minutes do most of the work, later minutes add little and increase contamination and heat. Beyond a certain point, over-grinding can even cause fine particles to re-agglomerate, which looks like a step backwards.
Can I grind a wet sample or a slurry directly?
Yes, provided the jar and media tolerate the liquid and you reduce the charge accordingly. Slurry is heavier than dry powder, so it loads the motor more and needs more free volume for circulation. Very wet, sticky material is better partly dried first, otherwise the media just paddle through it.
Where a Lightweight Mill Fits in a Real Workflow
In most laboratories, comminution happens in stages: a jaw crusher or coarse crusher reduces lumps to a few millimetres, and a mill takes that material down to the size the analyser needs. The lightweight vibrating ball mill is a comfortable fit for the second stage. It handles batches from small test quantities up to several kilograms depending on the jar, it grinds quickly, and it takes up very little floor or bench space.
That combination is why this kind of machine turns up in cement and ceramics plants, geological and environmental laboratories, metallurgical assay rooms and small-batch pigment production. If you only ever need grams of powder, a planetary mill will give you more energy per particle. If you need a steady supply of fine powder from a machine that can be moved and operated by anyone in the lab, this is the class of mill to look at.
Keeping It Running Smoothly for Years
A vibrating mill has few wearing parts, but the ones it has matter. Springs and dampers gradually lose their properties, gaskets harden, and clamps lose their grip after repeated tightening.
- Check clamp bolts periodically and re-tighten them evenly.
- Inspect springs and rubber dampers for cracks or sagging.
- Replace jar gaskets when they look flattened or cracked.
- Keep motor ventilation openings free of dust.
- Clean jars and media after every batch, and dry them before storage.
- Listen to the machine. You will hear a worn damper or a loose clamp long before you see it.
None of this takes long, and all of it protects the one thing that actually does the work: the vibration reaching your sample.
If you want to look at the machine described here in more detail, including how the jar is mounted and clamped, the lightweight vibrating ball mill page has the specifications and images. Match the jar and media to your material, keep the charge sensible, and a vibration mill will quietly become one of the most used tools in your sample preparation room.
Related Products
Get In Touch
Our professional team will reply to you within one business day. Please feel free to contact us!